When a photographer finally decides it is time to build a professional website, the instinct is immediate: register a domain, buy a platform subscription, and immediately start dragging and dropping images onto a blank template.
This reactive approach almost always ends in a cluttered, confusing website that takes weeks to finish because the photographer is attempting to edit, sequence, write, and design all simultaneously.
Building a website from scratch is not a software challenge; it is a structural challenge. The elite creatives in the industry never touch a website builder until 90% of the work is already completed offline. By front-loading the conceptual preparation, the actual process of "building" the site becomes a matter of simply pasting assets into place. Here is the exact offline workflow you need to prepare your digital presence.
Step 1: Execute The Brutal Image Cull
Your website is a highlight reel, not a hard drive backup. Before you consider the layout, you must execute a ruthless cull of your archives.
Create a folder on your local desktop named WEBSITE_MASTERS. Go through your entire body of work and pull the absolute best 50 images. Once you have 50, force yourself to cut that down to 25. If an image requires you to explain the context or make excuses for the lighting, it does not make the cut. Once you have this master folder of ultra-premium work, step one is complete. You will build your entire site structure around these 25 anchors.
Step 2: Establish the 'Buckets'
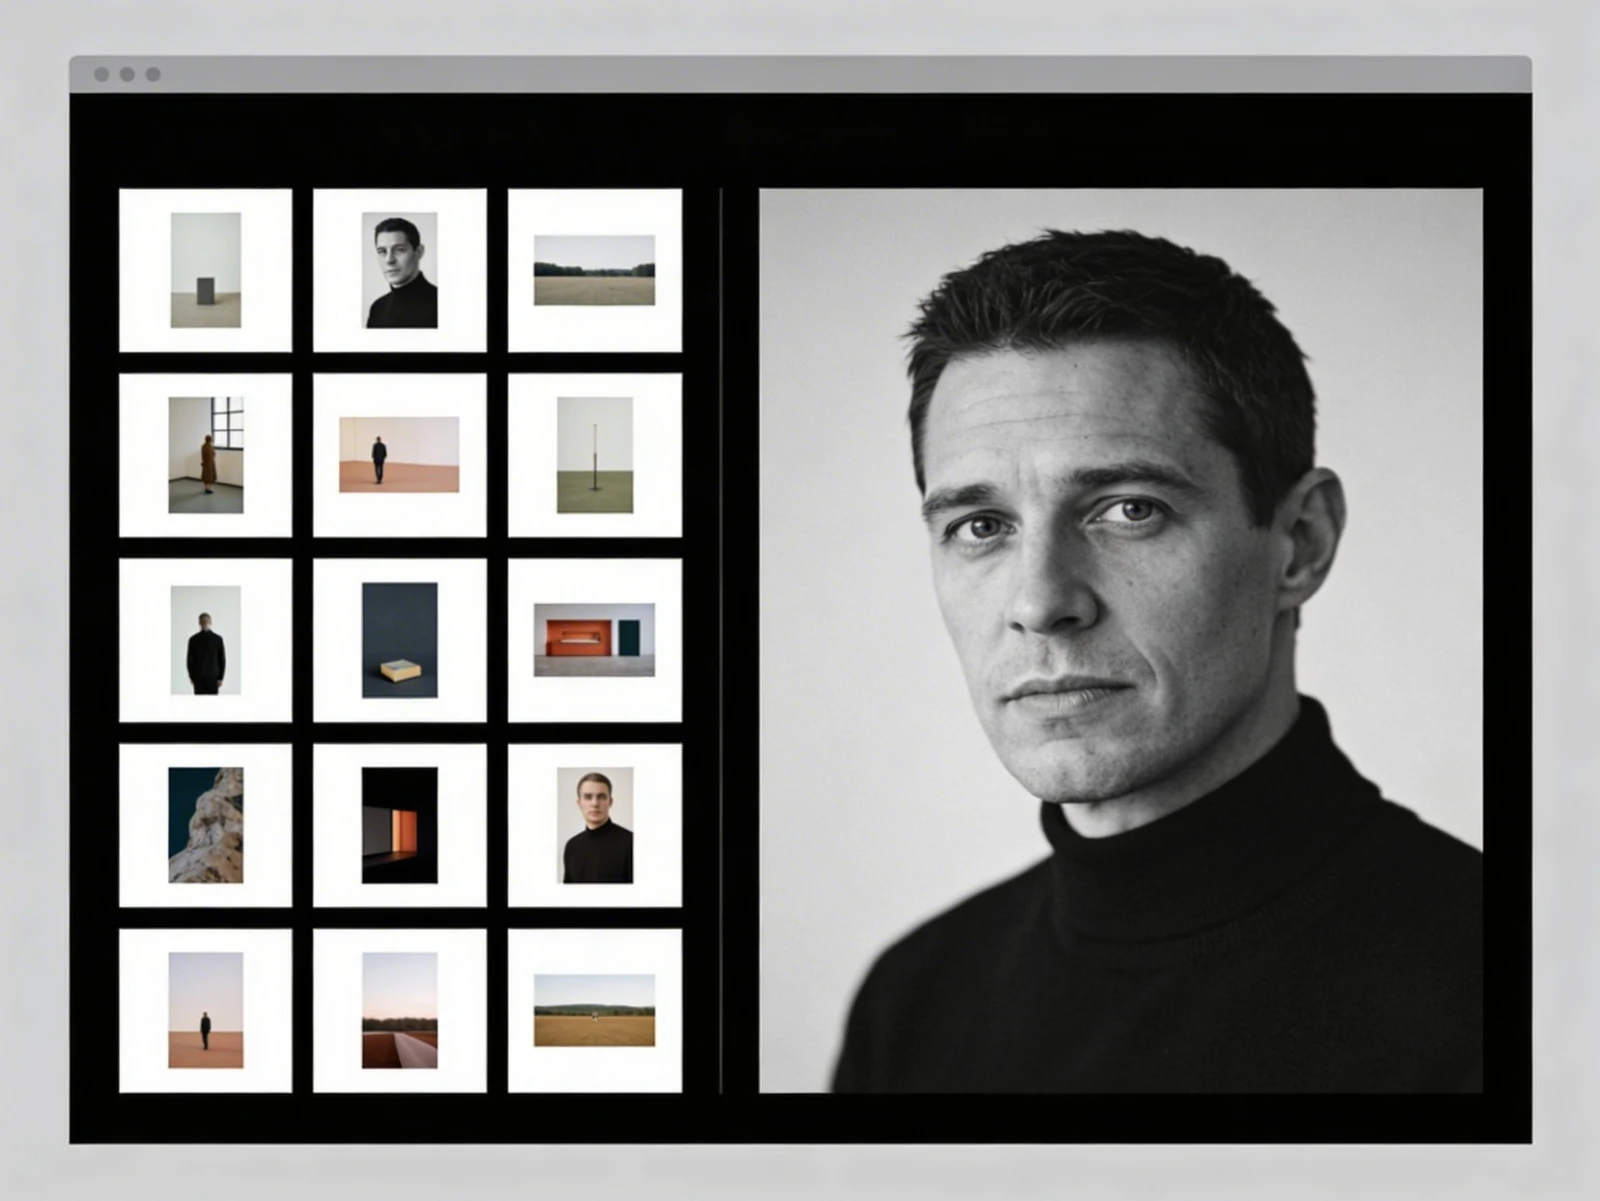
A professional website cannot be a single page where maternity portraits sit next to black-and-white abandoned building photography. You must establish logical "buckets" (galleries) to direct the client's commercial intent.
Look at your narrowed 25 images. Do they neatly divide into specific genres? (e.g., 'Editorial', 'Portraiture', 'Still Life'). If so, you have just defined your website's main navigation menu. Do not create more than four main categories. If you have one random amazing photo of a dog but you are a commercial fashion photographer, drop the dog photo. It does not fit the buckets.
Step 3: Write Your Copywriting Blocks Offline
Photographers notoriously freeze the moment a website template asks them to enter an "About Me" paragraph. Do not wait for the template.
Open a blank text document on your computer. You need exactly three written assets prepared before launching:
- The Hero Tagline: A single, sharp sentence defining exactly what you do. (e.g., "Commercial Editorial Photographer based in London.")
- The About Bio: Two short paragraphs explaining your visual philosophy, notable clients, and your professional background. Do not write your entire life story. Keep it grounded in the value you provide publishers or clients.
- The Services Overview: If you shoot weddings or commercial campaigns, explicitly list what your base packages include to filter out bad leads immediately.
Step 4: Standardize Your Asset Output
Now that your images are selected and your text is written, you must prepare the files technically. A website builder cannot fix bad color profiles.
Batch-export your 25 master images from your editing software explicitly in the sRGB color space. Size the long edge to approximately 2000-2500 pixels. This guarantees they are light enough to load instantly on poor connections, but retains enough resolution to look tack-sharp on a client's 4K retina display.
Step 5: Map the Skeleton and Execute
You now have a folder of perfectly sized sRGB imagery grouped into four distinct categories, and a text file containing your pristine biography and pricing text.
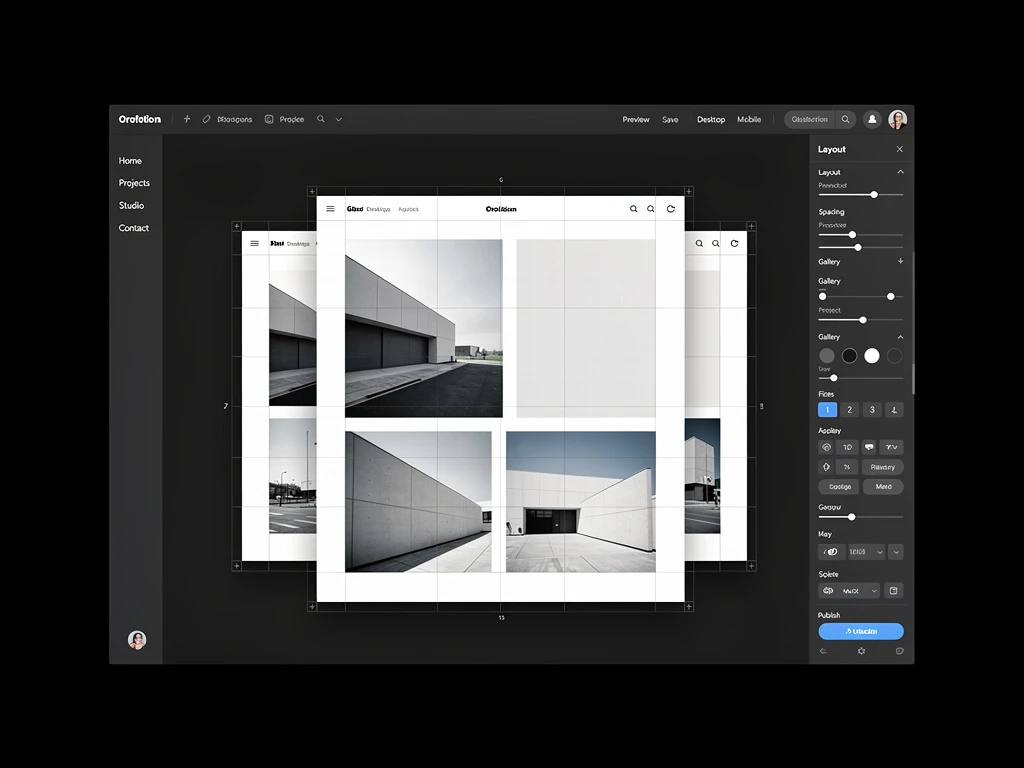
Now you are ready to open a website builder. Because the curation and writing are already mentally resolved, you simply select a minimalist template, upload your folders, and paste your text. The anxiety of creation vanishes when the assets are meticulously prepared in advance.
Stop fighting with complicated drag-and-drop builders. Once your photography assets are organized, you can use Portfoliobox to instantly snap your work into clean, unmetered, professional gallery grids in minutes — no coding required.